TeamViewer is a preferred remote control app for most professionals and corporations. With many amazing features, it’s been used by everyone for a long time. TeamViewer on Ubuntu is very safe and secure. Also, it provides an intuitive experience with numerous features needed for remote access and presentations. Recently, TeamViewer had a security issue, so people are switching to installing it on Ubuntu or other Linux systems.
Linux is very safe for corporate use, as more than 90% of servers worldwide are based on Linux. Installing TeamViewer on Ubuntu 22.04 or 23.04 is quite simple. It should be the primary choice for corporate use, but Hey! Who’s listening to experts like me?
I combine TeamViewer’s latest version and AnyDesk to fulfil my remote access needs. If you want to install it on your Ubuntu system, I will show you the exact process you must follow.
Install TeamViewer Latest Version on Ubuntu Linux
TeamViewer is proprietary software that can be downloaded from the official website. It’s not available in the Ubuntu Universal Repository hence you may have to follow a few extra steps. Here are the steps that you have to follow.
Method #1 – Use Terminal Command Line
For this method, you need to use the Terminal. If you are comfortable with command line, then go through this method.
- Open the Terminal with “Ctrl + Alt + T” key combination and paste the following command. This command will download the latest version of teamviewer fom the official server.
wget https://download.teamviewer.com/download/linux/teamviewer_amd64.deb- Now, type the following commands to first update the system database and then install the downloaded .deb file.
sudo apt-get update
sudo apt install ./teamviewer_amd64.deb- If you don’t have the APT package manager but use DPKG instead, then enter the following command. No need to use the apt install method.
sudo dpkg -i teamviewer_amd64.deb- Now, the app is ready to use. You can open it through the Applications Menu and start using it.
Method #2 – Simple Package Installation
If you have no experience in using command line with terminal, then you need some simple solution. You can directly install the .deb file of TeamViewer just like you install any .exe file in Windows PC.
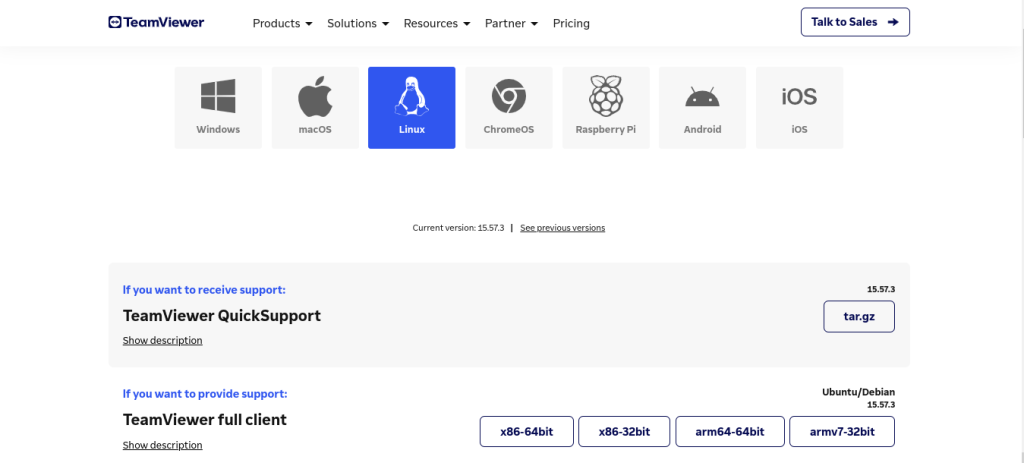
- First, you have to download the file from the official website. Click on this Link to download the package.Also, you can visit the official site and choose the package that suits your needs.
- After that, locate the downloaded file. Usually, it is downloaded in the “Downloads” folder. Double-click on the file and then click on “Install“
- You have to enter the Sudo password to begin with the installation. Deb installation in Ubuntu is a bit slow, hence it will take a few seconds to complete.
- Once the installation finishes, you can open Teamviewer from Applications menu and start using it the way you want for remote access.
Frequently Asked Questions
#1 – How do I enable TeamViewer on startup Ubuntu?
First you have to open the TeamViewer app, then go to “Options” or “Settings”, move to the “General” tab and then check the “Start TeamViewer with system” option and Save. This will enable TeamViewer on Startup.
#2 – Why TeamViewer Not Connecting with Remote Desktop?
Connecting to the Remote Desktop can face issues if your system or remote desktop has unstable internet connection. Make sure to check the internet connection. If issue persists, reinstall TeamViewer.
Conclusion
TeamViewer can replace the default Remote Desktop feature in Ubuntu or any other Linux distribution. With this guide, I tried by best to teach you the exact process of installing TeamViewer on Linux systems, mostly Ubuntu. The first method works on almost all Linux distributions, not only Ubuntu. Follow these methods and comment below if you face any issues, and I will be there to help you.

Living my dream of using Linux on the PC. Been a Linux user from last 5 years and love tinkering with features. Taking a challenge of reading two books per month.
Leave a Reply
You must be logged in to post a comment.